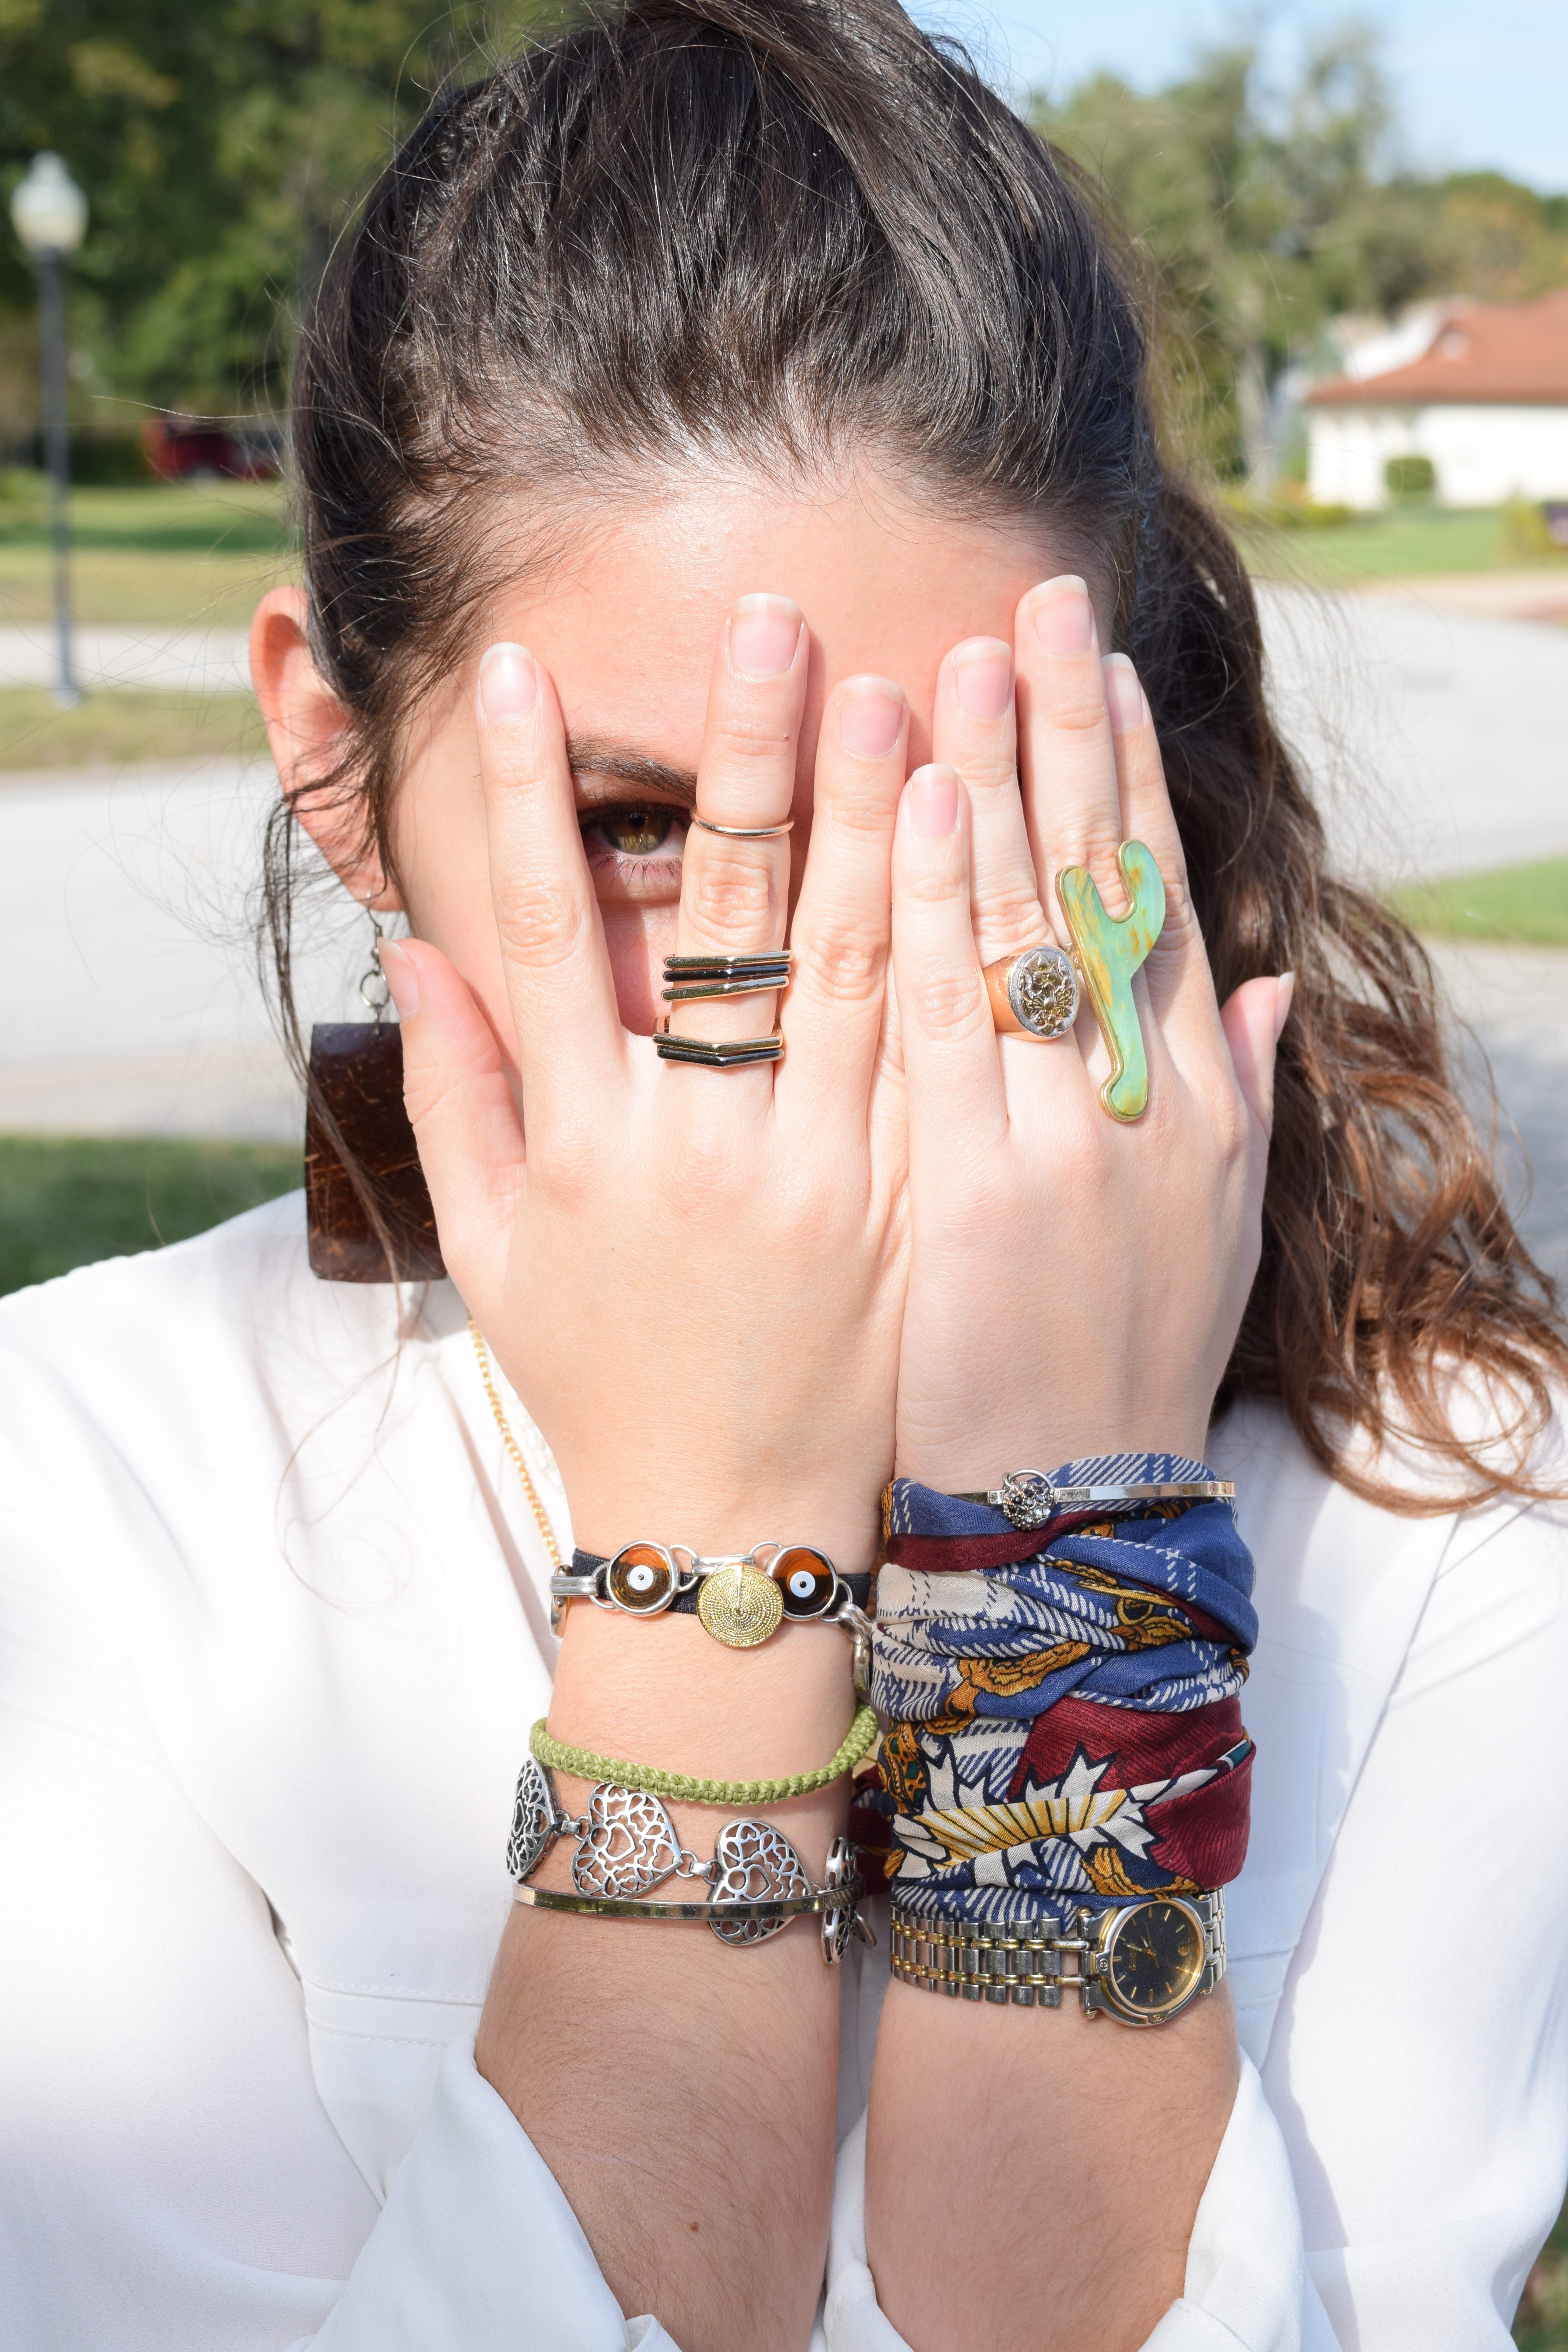


DIY elastic bracelets/hair ties
Today on Delirium Style I want to share with you my DIY bracelets/hair ties
Has it ever happened, where you buy hair ties and by the end of the week they are all gone. So, you go back to the store and buy the gargantuan pack of hair ties. Then, you come home to find the lifetime supply of hair ties entirely gone. That situation will not happen to me again. no, no.
After I angrily stormed out of the house to buy more hair ties I thought, “You know what, I don’t need Walgreens! Nor do I need to buy any more hair ties! I will make my own and they’ll be fantastic!”
So here it is, a DIY on hair ties.
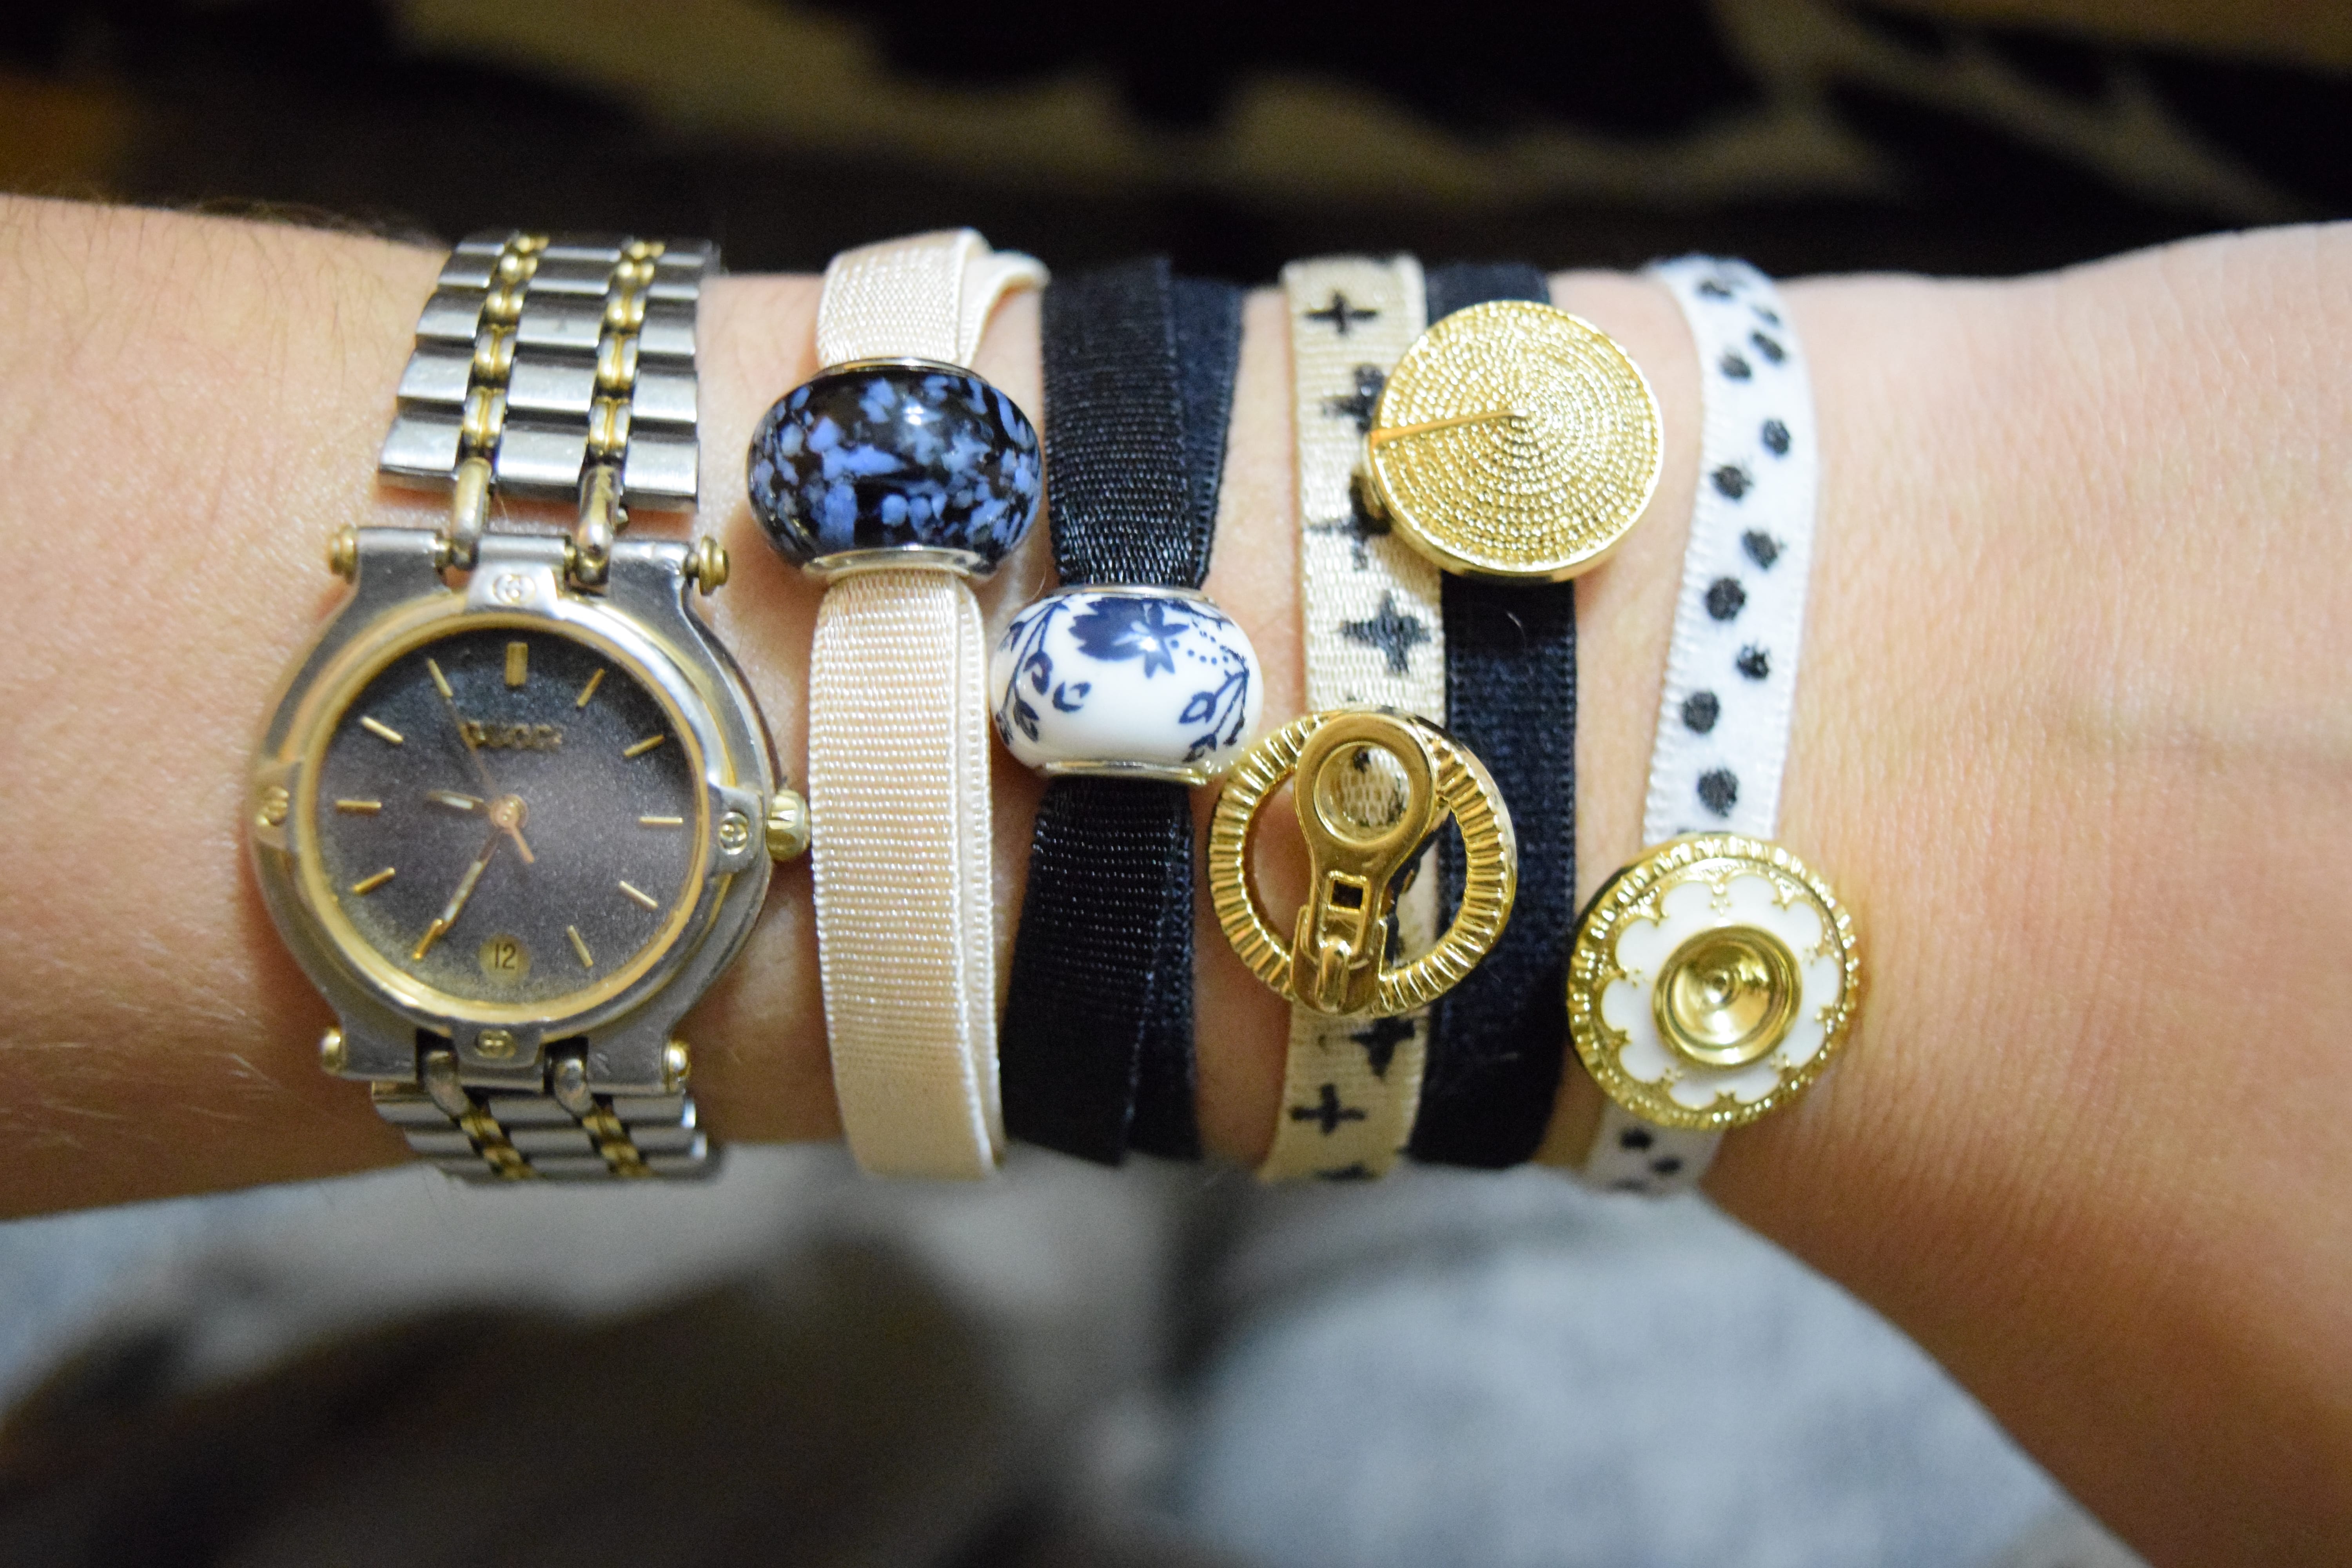
You will need: decorative buttons or beads, elastic bands (I used thin ones), scissors, a lighter, and fabric paint or marker.

Grab your ties and make sure to measure your wrist and leave enough to be able to tie them before cutting them. Paint or add any bead you like. To tie: grab the two ends and make a simple knot. Before you tug on it tight, fit it around your wrist that way you know it won’t be too tight/loose. And don’t forget to heat the ends.
escojan las bandas que quieran, midan su muñeca dejando lo suficiente para poder hacerle un nudo y cortenlos. Pintenlos o agregale cualquier decoración que quieras. Para el nudo: después de hacer el nudo no olvides calentar un poquito los extremos.