


Chinese Pool Lanterns
Today on Delirium Style: DIY Chinese Pool Lanterns
For my brother-in-law’s birthday party my sister and I wanted to light up the backyard somehow and we got the idea of making Chinese lanterns and have them floating around the pool. We made about a dozen of them and they look wonderful. So here is a quick tutorial on making them:

You will need: Tracing paper, rectangle wooden squares (approx. 4X6), a glue gun, a ruler, candles, and large popsicle sticks. You will need 4 popsicle sticks, a piece of wood, and 2 sheets of tracing paper for ever lantern you make.
First, measure each popsicle stick to 2 1/2 inches from the tip of the stick. Starting from the tip you should label 2 1/2, 1 1/2, 1, and 0. This is so you know where to glue the piece of wood ( between the 1 and 1 1/2) and paper (marked at 0).

Second, Glue the two sheets of paper right at the edge as seen below. and glue on the first popsicle stick at the very far left of the paper. Then, glue the second popsicle stick according to the length of the wood. (use longest length, edge to edge, of wood as a reference to glue the popsicle sticks). Also, make sure to crease the paper after you glue each stick.


 Third, glue the piece of wood on to the stick right in between where its labeled 1 & 1 1/2. Put lots of glue so it doesn’t fall off since it will be in the water for a long time. Also, tug back just a bit when you hold the piece of wood while it glues or else it will fall inwards and the side will not be completely straight.
Glue the third popsicle stick right by the crease where you glued the two pieces of paper together and crease the paper so it makes it easier when you turn the piece of wood over. Do the same process to glue the fourth popsicle stick and use the wood as a guide. Don’t forget to crease the paper and before you glue the wood on to the last two sticks. You should be left with your last section you will need to crease by folding in just the edge of the paper as seen on the last picture below.


Lastly, lastly after creasing the page make sure it reaches the other stick in order to close the lantern. Place glue on the edge of the paper and fold over to cover and glue on to the other edge.


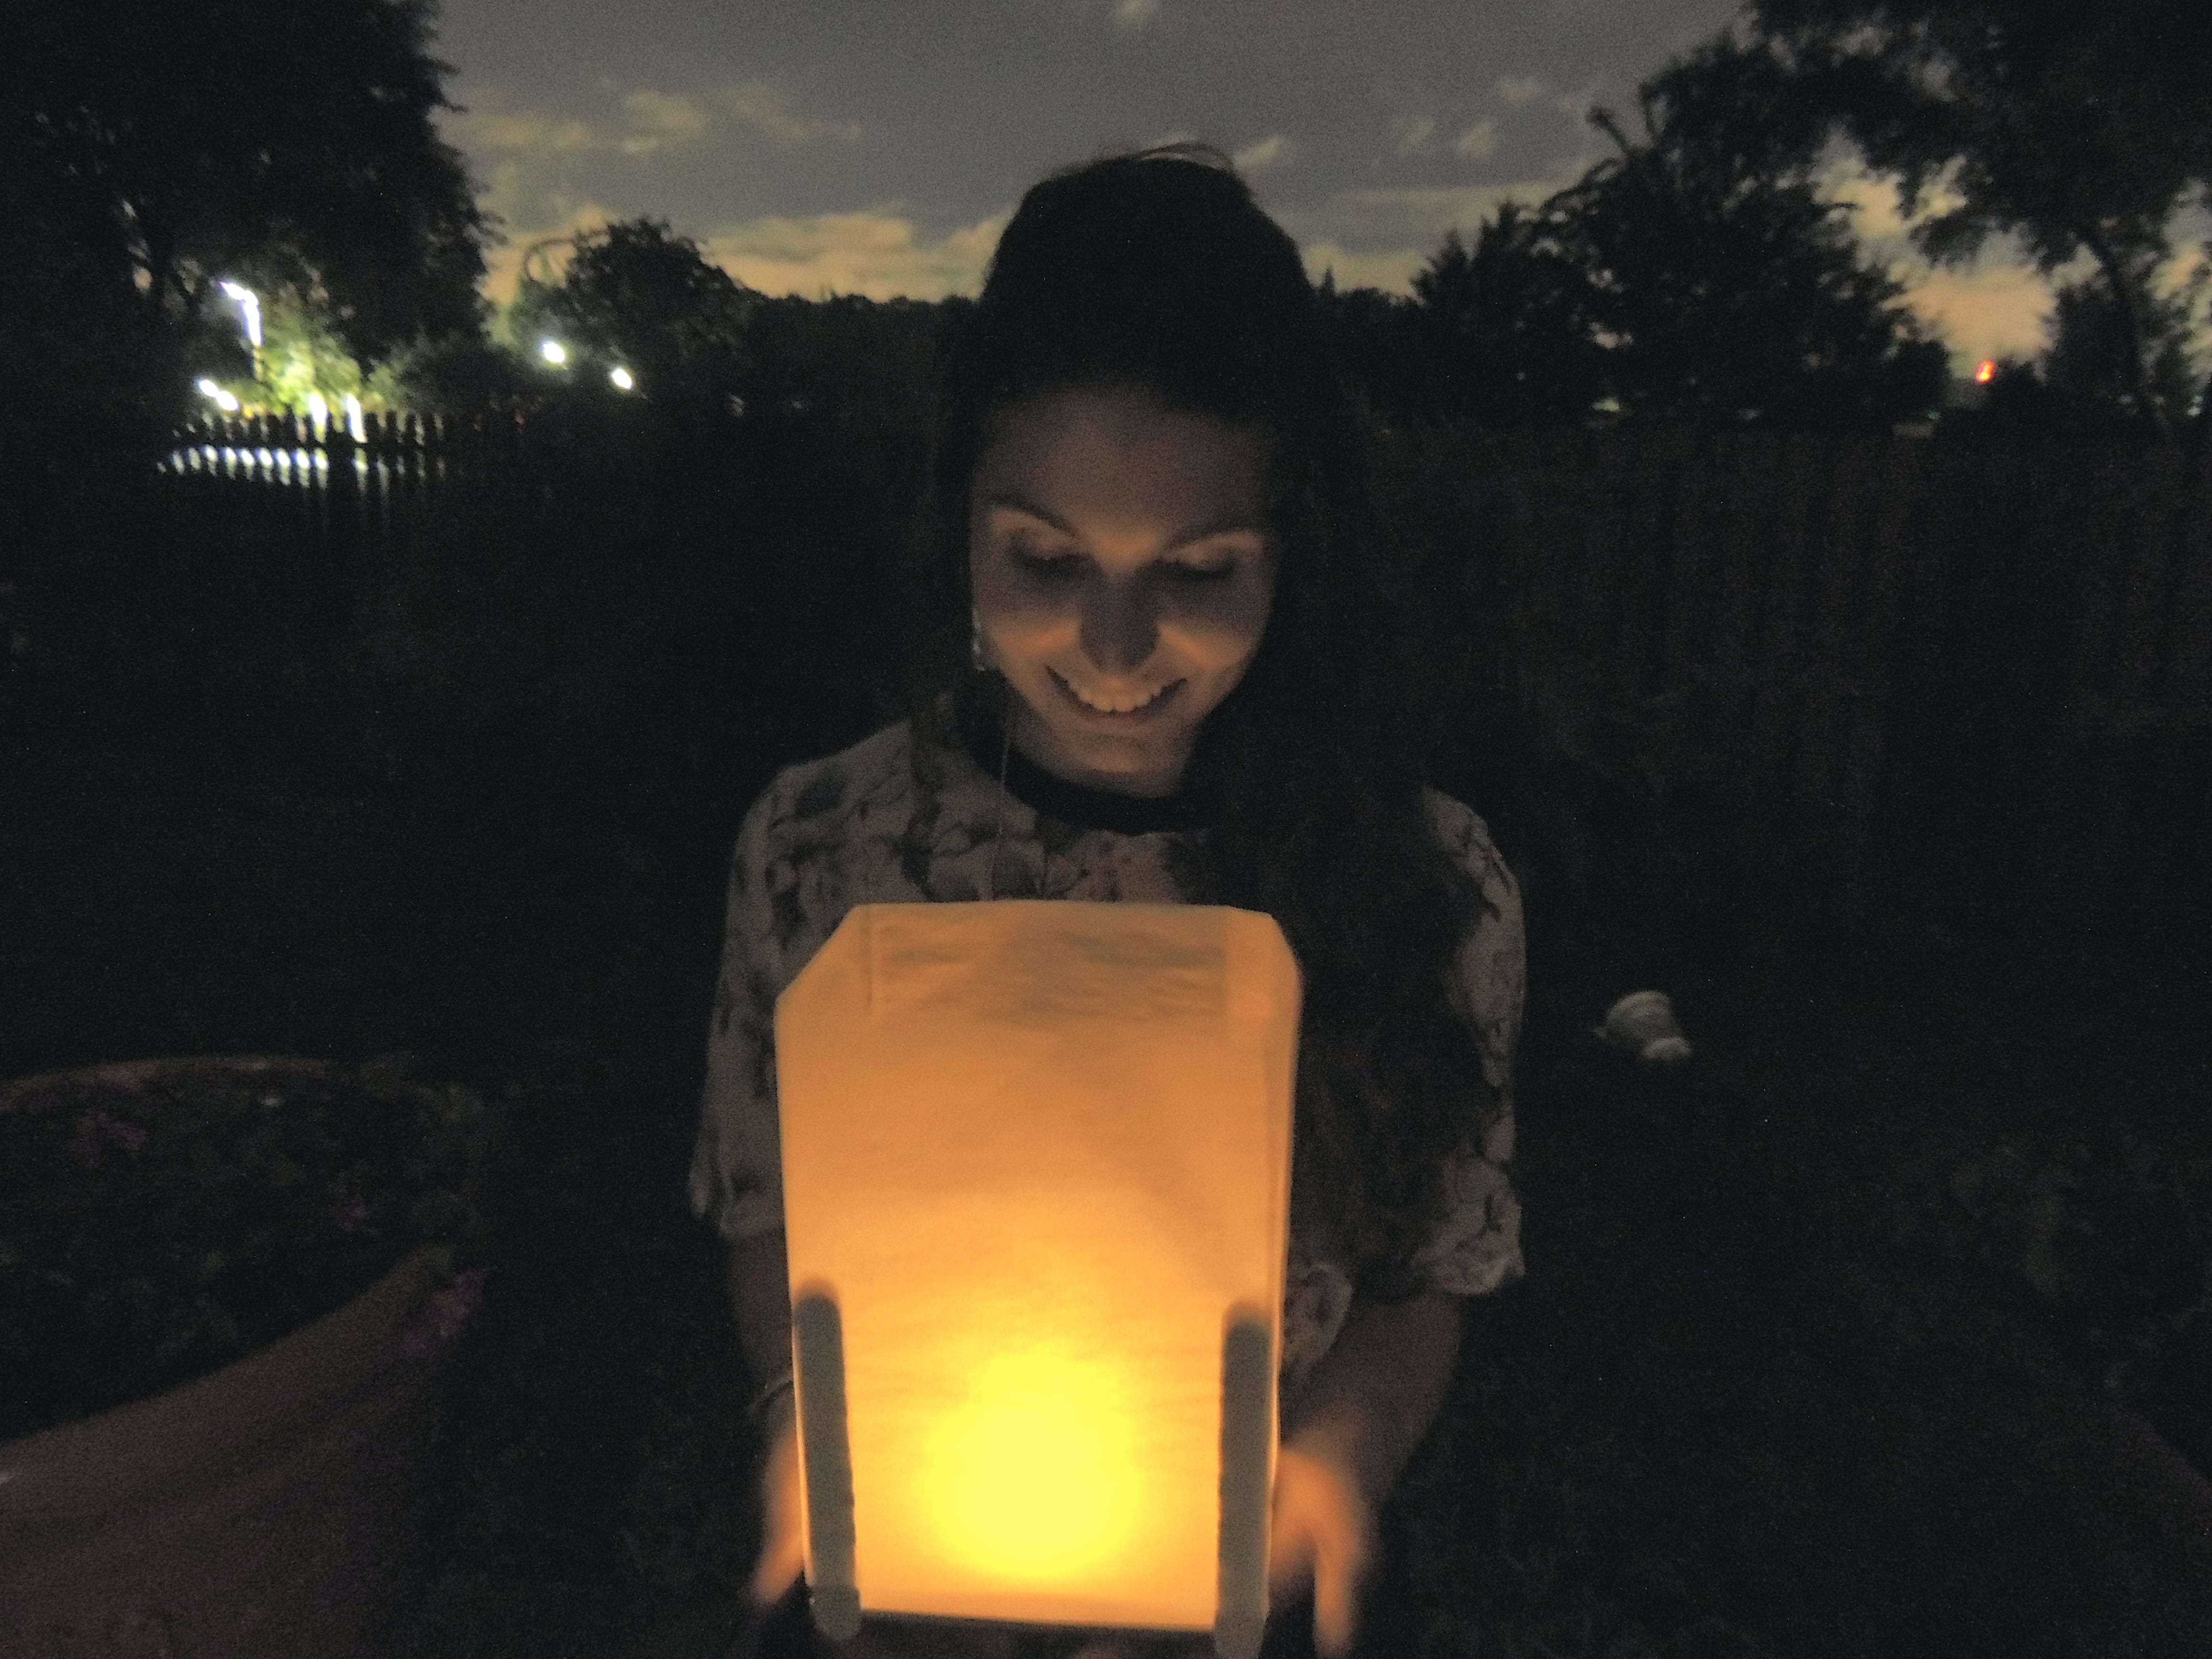
You should get something like the lantern above. Place a candle right in the middle and place it in your pool. We chose flameless ones because we wanted them to last all night. About 5 of them were the candles that changed colors every few seconds and the others were plain yellow.
I made 12 lanterns for the party and didn’t take a picture of how they all looked until the night of which was a very, very, very, VERY, bad idea. You see a lot of our friends came over, our parent’s friends, our aunts and uncles, and their kids. And quite the handful of kids they were.
One of those toddlers decided that battle ship was the appropriate game to play and began throwing “missiles” at those evil ships and oh did all those other kids think that was neat. I came out to take pictures of a Chinese lantern massacre with absolutely no survivors!
Thankfully, my sister did manage to get pictures on her iPhone of the first three we made before the party. Pretty cute, huh?


Did you like this tutorial? Let me know in the comments below if you didn’t understand any of the steps. Or if you tried making your own, let me see how they turned out.


Dani Benzaquen
So wonderful!!! Can’t wait to try this! you are an INSPIRATION